At last, our long-awaited M&P Workbench journey begins! From my early model train aspirations to past layouts, this shelf layout is a first. Follow along as I share my layout’s unique details and materials, hoping it stands the test of time and inspires your own model railroad projects.
Parts List:
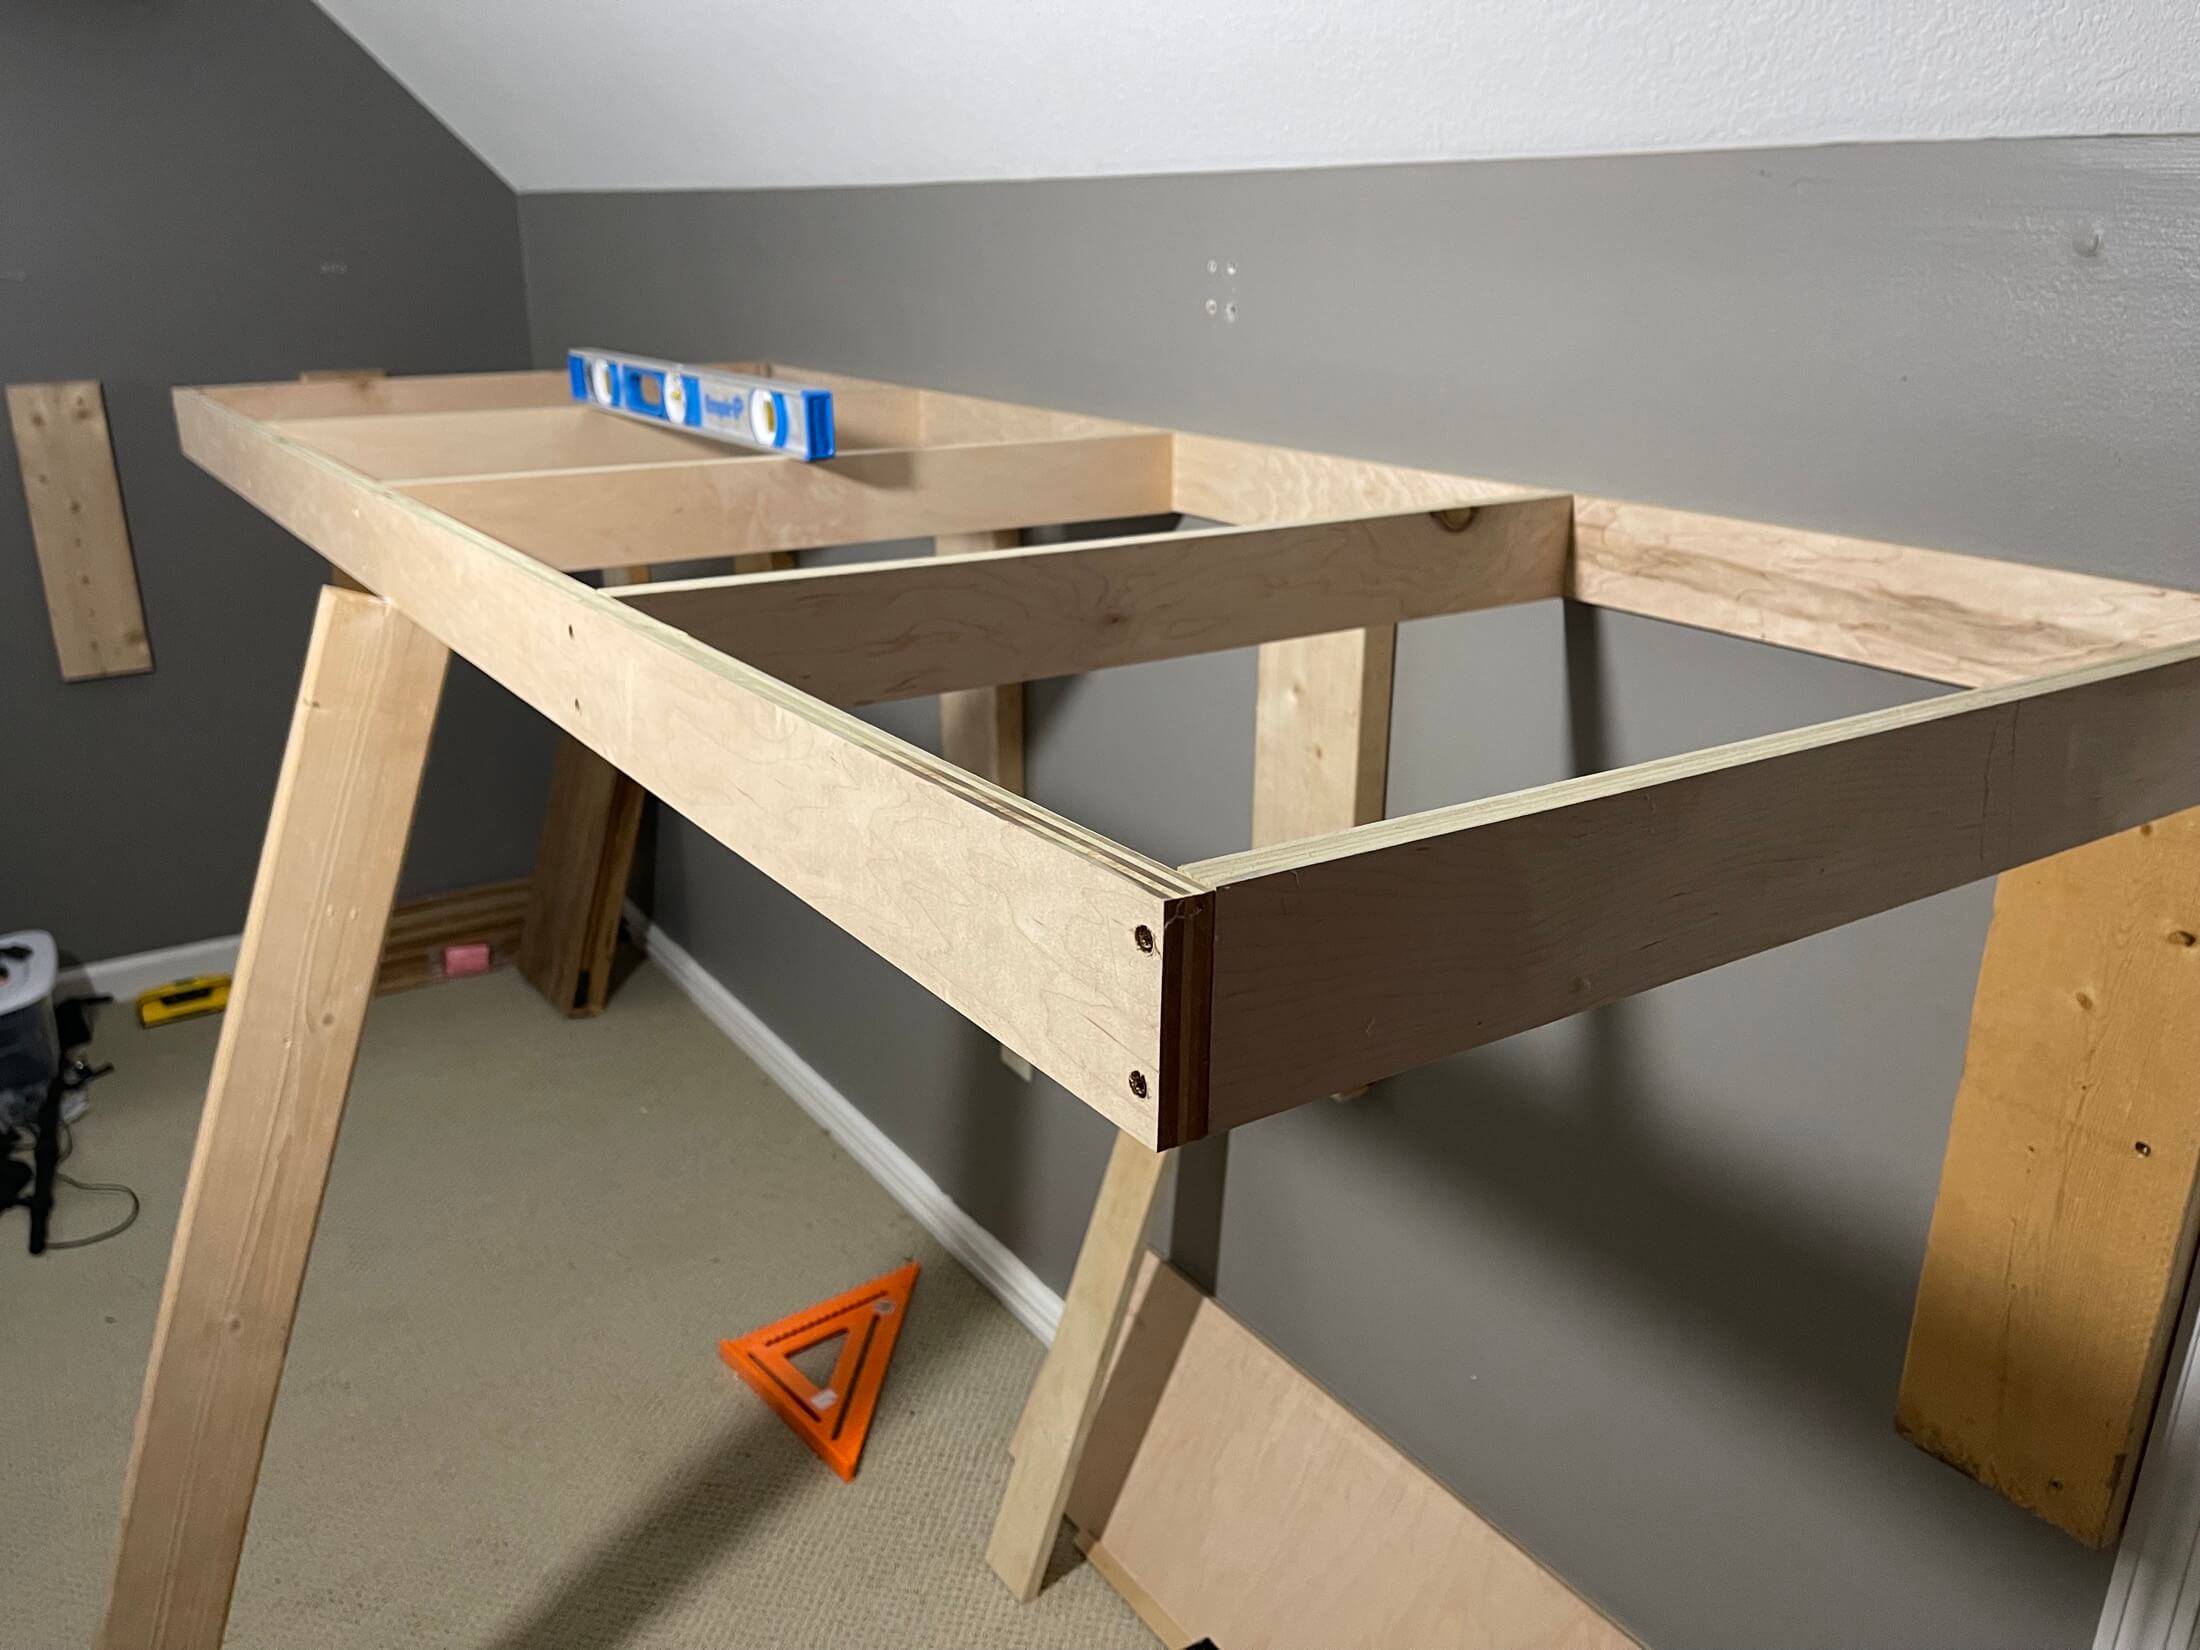
Getting started on the workbench!

I have cut my 2x6x12′ board down to 21″ long sections. We are still wanting to use the small doors on each side to store items in so we need to build our benchwork/boxes somewhat above and around these doors. The doors from the bottom of the floor to the top of the molding are right at 4′ or 48”. The foam board should be 2″ thick, and the benchwork/box for the foam board should be 3″ tall, for a total height of 5″. I was ready to start cutting things, but I marked the studs on the wall so I knew where I needed to screw the 2x6s into.

I was taking my time putting these in and wanted to make sure they were getting screwed into studs on the wall. I did think about adding more studs in the back since access this area was possible. But soon realized this was not needed after I got a few screws set in place and they were holding great. On to the box!


Building the box was not bad. It’s definitely hard for just me, but I had my wife come help me make sure it was square, and it was not too far off from square may a 16th or two. I’m going to use 2×4’s that I had laying around and also some new ones I bought to help support this through the layout. These 2×4’s will be cut at 45 degree angles and both ends this way I can screw them into the 2×6 blocks on the wall, and then on the sides in the frame/benchwork area. I did use some amazingly nice 90 degree angle clamps, not sure if these are still in stock but I was able to pick them up at Home Depot.
Summary:
In pursuit of his model train aspirations, the blogger documents the journey of creating a shelf layout. Utilizing a 2×6-12′ board cut into 21″ sections and incorporating small doors for storage, the benchwork/boxes are skillfully built. The foam board is 2″ thick, resting on a 3″ tall benchwork/box for a total height of 5″. The blogger meticulously marks and secures the 2×6 boards to the wall, adding 2×4 supports cut at 45-degree angles for added stability. A team effort with his wife ensures a square box frame, and handy clamps aid in the process. Stay tuned for more inspiring model railroad projects!
Part 1 showcases the workbench taking shape, but there’s more to come! Stay tuned as we expand the layout into corners and around the door. The next blog post might explore the other side of the room or the U-shape layout. Brace for the challenge ahead—a water area with a bridge near the double windows awaits completion, promising a captivating scene!
Do you want to see our locomotive fleet? Or maybe check out the rolling stock we have operating on the layout. Hope you are enjoy the M&P Railroad Blog, let us know if you have any questions.